


Written by member Sara O.
"Peace goes into the making of a poem as flour goes into the making of bread." -- Pablo Neruda
The recipe that follows is a classic bread recipe from of the greats: James Beard. The book I use to bake from is a bit tattered, some of the pages have come loose from the binding, and there are random stains from years of use. Its Beard on Bread, published in 1984. I can’t take credit for James Beard’s recipe, so my observations are inserted and in italics, but loved it so much I wanted to share.
There are a couple points that I would like to address before the baking begins. The first is regarding the dough hook. Although the dough hook is now a replacement for kneading the dough completely by hand, it’s my belief that the dough turns out better when it is worked with your own bare hands. The step of kneading the dough should not to be overlooked.
The second is a trick I learned from my mother. She would always use a large glass bowl for the dough to rise in. When it’s approaching time for the dough to rise, fill the bowl full of hot water and let it sit for about five minutes. Drain the water and dry completely. The hot water will help warm the glass and give the dough a head start rising.
 |
| Indentation indicates dough is ready |
Another handy secret is how to know if the dough has risen enough. A simple way is to gently poke the dough with your index finger. If the indentation pops back out, it needs to rise some more. If it indentation stays, it’s risen just enough and is prefect to continue. What you don’t want is when you poke the dough it deflates. This means you have let it rise too long and the bread will not produce the desired results.
Since homemade bread does not contain any preservatives, the bread will start to go stale in about a day or so. Luckily, this bread recipe freezes very well. To make sandwiches, I like to cut the loaf into slices then freeze, so I can take out two slices at a time.
My last observation is that it’s important to pay attention to what the bread is telling you while preparing the dough. When baking, it’s noteworthy to mention the amount of flour and how it rises, can differ depending on the temperature, air pressure and humidity. Take care when you add flour to watch the dough. Some days the dough will require more flour, and some days it will require less. Most importantly have fun and enjoy!
Basic Home-Style Bread By James Beard Makes 2 loaves
- 1 package active dry yeast
- 2 cups warm milk (100° to 115° approx.)
- 1⁄4 cup melted butter
- 1 TBSP salt
- 5 to 6 cups all-purpose flour
- 1 egg white, lightly beaten (optional)
Add yeast to a 1⁄2 cup of the warm milk, along with 2 tablespoons sugar, and stir well until the yeast is completely dissolved. Allow the yeast to proof.

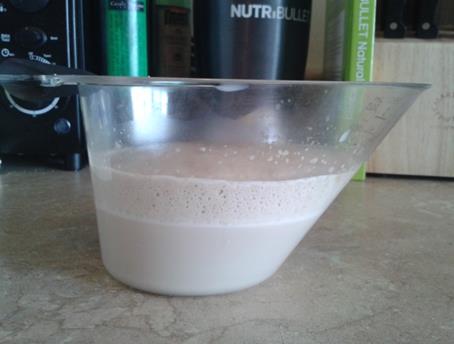
Yeast, milk, sugar BEFORE proofing
Yeast, milk, sugar AFTER proofing
Place the remaining milk, the melted butter, and the salt in the bowl. Stir in the flour, 1 cup at a time, with a wooden spoon (at this point, I use the beater bar on my Kitchen Aid, after a cup or two I switch to the dough hook) until the mixture is rather firm, which should take about 4 to 5 cups. Remove the dough to a floured board or a marble slab, and knead, add in more flour as necessary if it gets sticky, until it is supple, satiny, and no longer sticky.
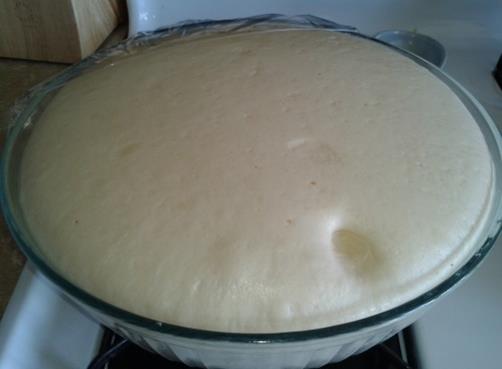
Butter a bowl and place the dough in it, turning to coat all sides with fat. Cover and allow to rise in a warm, draft free spot until doubled in bulk, about 1 1⁄2 to 2 hours.
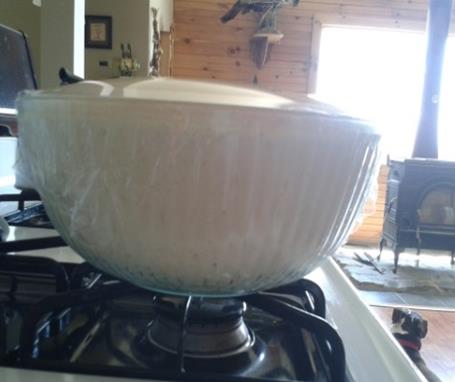
Dough in greased bowl after rising
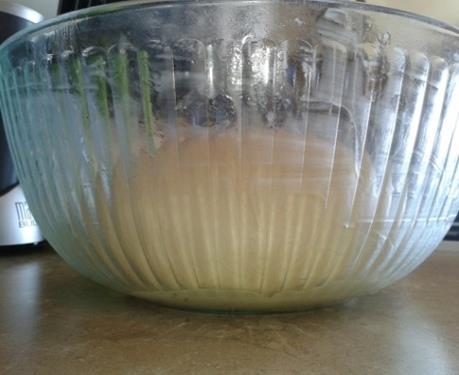
Dough in greased bowl before rising
Deflate the dough by punching it firmly two or three times, return to the floured board, and knead 4 to 5 minutes more. Divide into two equal parts and shape into loaves**.
Place in well-buttered 9 x 5 x 3-inch loaf tins, cover, and let rise again until doubled in bulk. Slash the loaves with a sharp knife and brush with lightly beaten egg white or water. Bake in 400° oven for 40 to 45 minutes or until the bread sounds hollow when tapped with the knuckles. Remove the loaves from the pan and put them in oven a few minutes longer to become crisped.
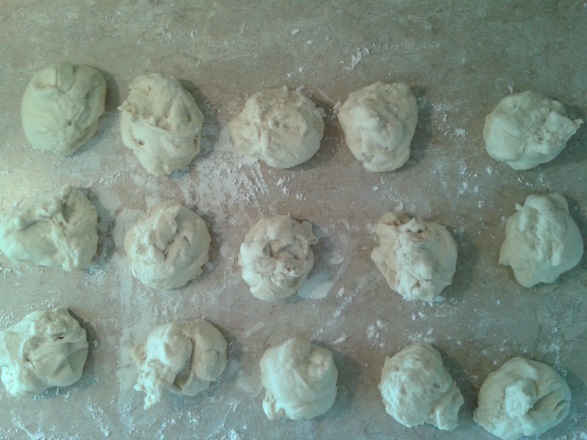
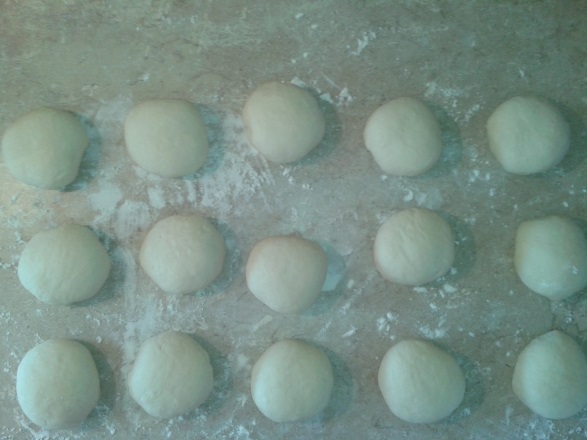
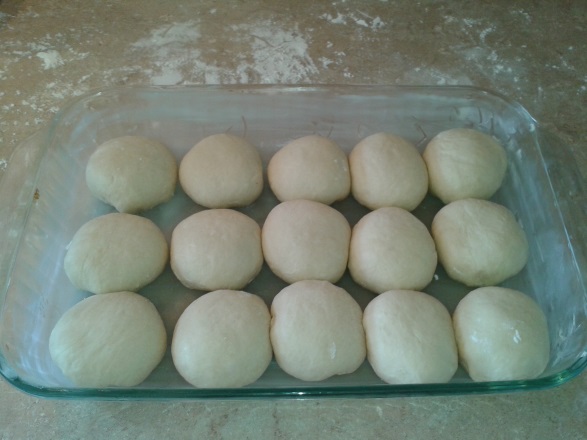
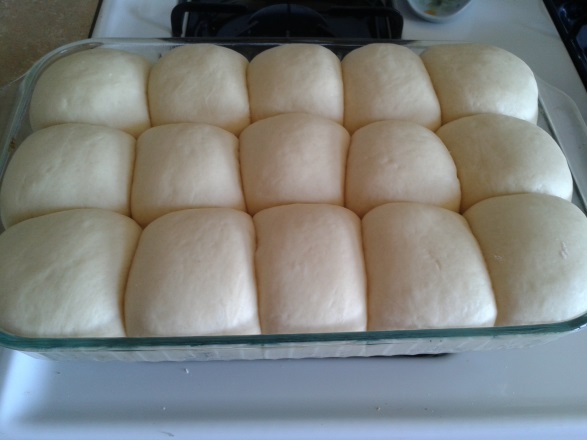
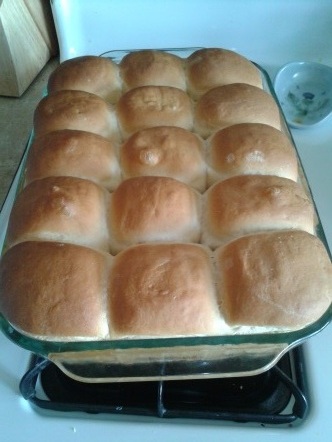
** I like to make one loaf of bread and use the remaining dough for dinner rolls. Measure out 3 oz of dough for each roll. Knead the dough into smooth rolls. Place on a greased cookie sheet. I use a greased casserole dish to make home-style roll. Cover, and let rise again until doubled in bulk. Brush with lightly beaten egg white or water. Bake in 400° oven for 30 to 35 minutes or until the bread sounds hollow when tapped with the knuckles. Remove the loaves from the pan and put them in oven a few minutes longer to become crisped.

Evolution of the Dinner Roll

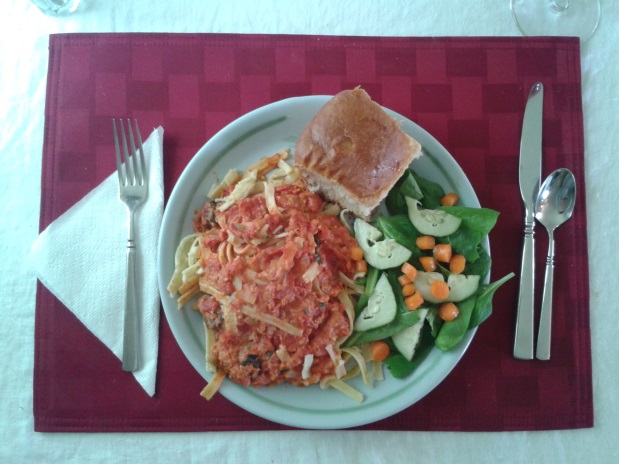
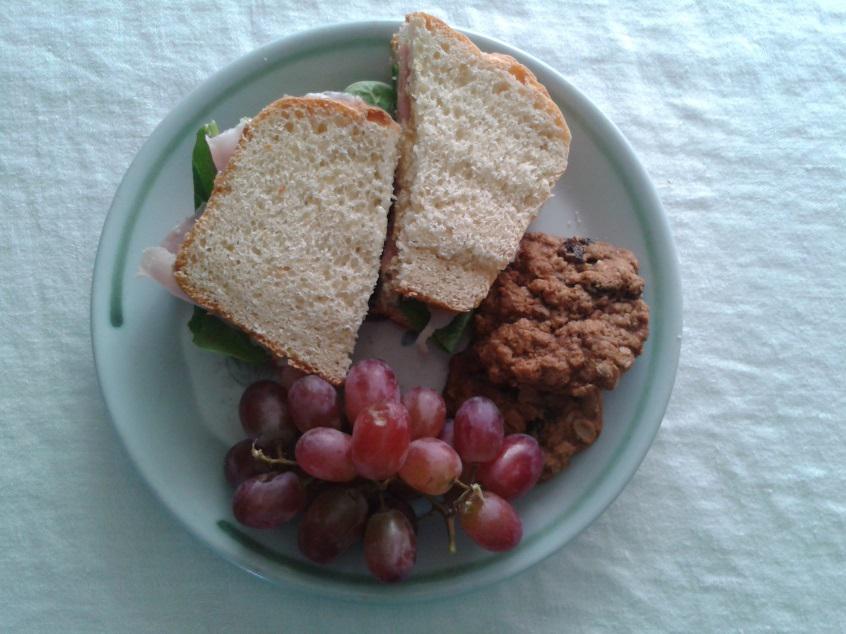
Serving Suggestions
Tools of great baking
 Deborah
 basit
basit